
How to Upload Your Sermon Videos to Your Squarespace Website
In this blog, I’ll show you how I upload sermon videos to my Squarespace Website.
Watch Video:
DISCLAIMER: Links included in this description might be affiliate links. If you purchase a product or service with the links that I provide, I may receive a small kickback in commission. There is no additional charge to you, and it supports my channel, so I can continue bringing more content to you all.
Steps in uploading at Squarespace.
Step 1: Once you log in, there will be a button that says All Sermon, or it will depend on what you call it in your church, it is like a blog style.

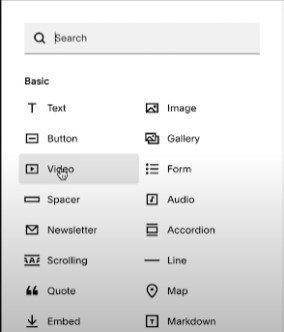
Step 2: To add a sermon video, click the + sign.

Step 3: It will then come out as this. Click this and begin to add details of the sermon.

Step 4: Input your title.

Step 5: To add the sermon video, you just have to click the + sign on the text part.

Step 6: Choose a video and if it is from YouTube, you just have to link the video, but if you are going to upload it then drag/upload your video. Then press Save.
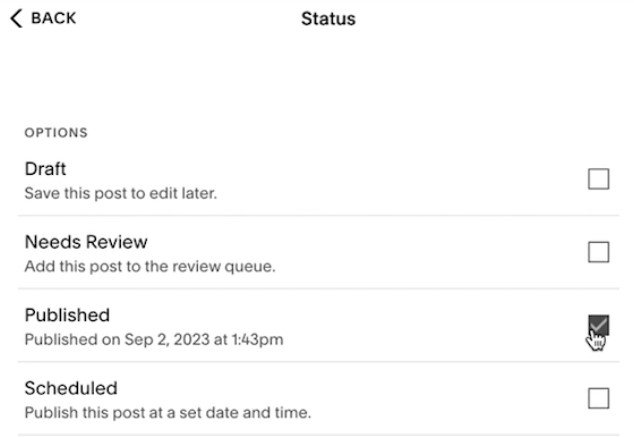
Step 7: You will not publish it yet since we are going to edit the details.

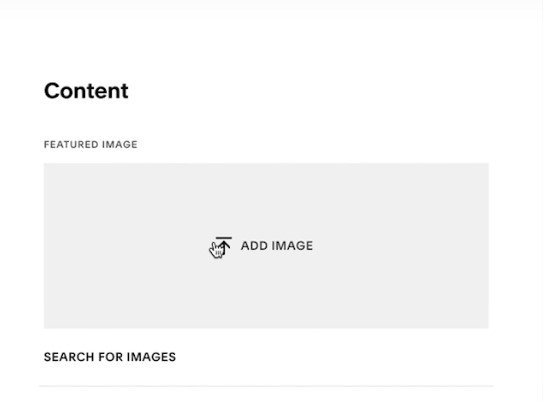
Step 8: Add an Image that will serve as its thumbnail.
Step 9: In Options, you can add Tags and Categories.

Step 10: You can also Schedule or Publish directly the sermon video blog.
Step 11: Once everything is done and correct. Click Save.